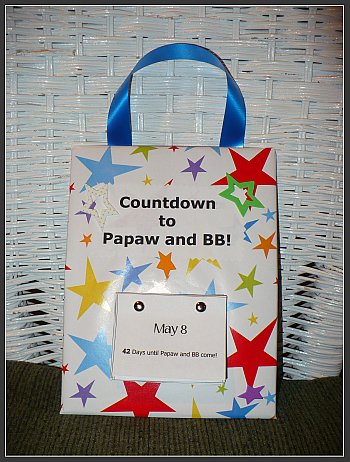
I made up this little countdown calendar for my 6 1/2 year old nephew, Ethan. He's had a lot of changes in his life this year and has been having a hard time lately so I made this countdown calendar to mark the days until my mom and dad go up to visit (which also happens to be his last day of school.)
Here's the calendar--he named my mom BB when he was two, we have no idea where he came up with it but it just stuck =] --It is made of two thin pieces of cardboard that are held together by some wrapping paper I had laying around. I added a ribbon to hang it with and some foam star stickers to give it a little extra something.

Here's a close-up of some of the days:

I made the calendar pages in Microsoft Word which, may I add, took FOREVER! The pages are held on with plain brads that I had left from a project I made last year. I put in an activity for Ethan to do every other day to give him something to look forward to.
Here's an example of some of the days:
Write a story about a boy named Joey!
Slide from one end of the kitchen to the other in your socks!
Find 5 things in your house that are your favorite color!
I hope that he likes it, he's really into writing his own stories (now he's into vampire stories, he wants to write like Stephenie Meyer because he knows we love her books--we've inadvertently made him a Twilight fan!!) and drawing so most of the activities center around that. This project could easily be tailored to fit any countdown needs. And kids love the idea of ripping off a page each day and seeing what activity they get to do next!

 The top (This was my first time really sewing with striped fabric and the stripes matched up! Even with the zipper- I was totally stoked!):
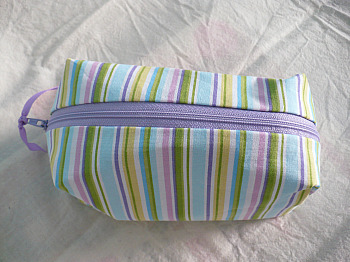


 I just realized that I didn't get a picture of the lining itself, I'll get one in the morning and post it so you can see it =]
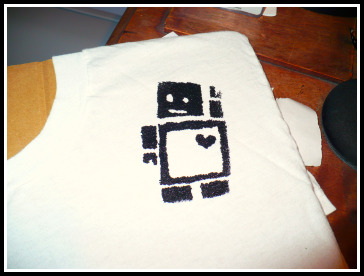
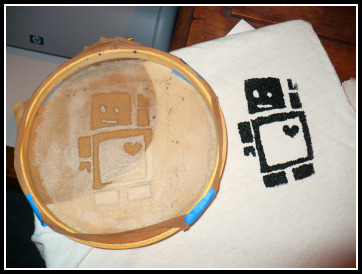
 Then, I prepared my "screen" (I used an old pair of pantyhose- It's what I had on hand) I got my little robot man from the
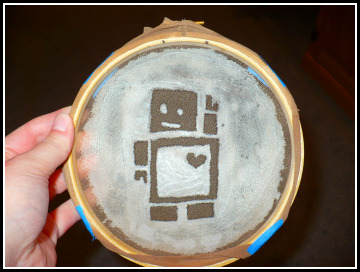


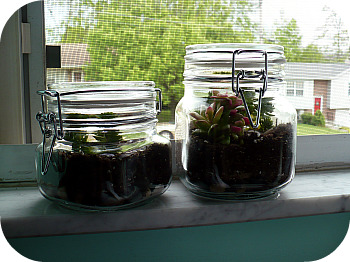
 After the plant is watered I added some leftover stones that I painted with acrylic paints to give my jar a little color- I would suggest leaving the painted stones out of the jar overnight to dry that way the strong smell won't harm the plants:
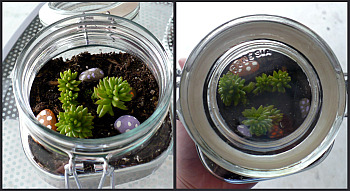


 I have all the supplies I need to start these fellas except for my plants- I know, it's a big thing to leave out- but I'm going to the nursery tomorrow to pick the guys out. I'm going to be taking pictures of all the steps of my journey into terrarium land and I'll be posting them for all later this week. If anyone is interested in making terrariums here is a
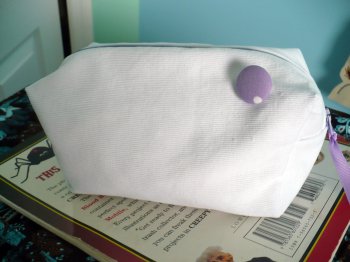
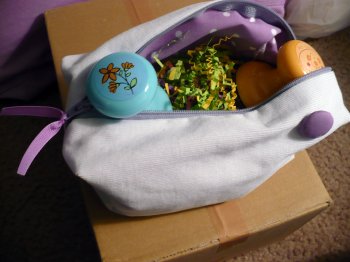
 Other side with a ribbon zipper pull:


.JPG)
