Yay! This is my first tutorial! I hope I explain everything well, if you have any questions, feel free to message me. [warning: this post is EXTREMELY picture obese!]
You'll need:
-2 strips of fabric 2 1/4" by 8"
-1 strip of fabric 3" by 8"
-1 strip of fabric 4 1/2" by 8"
-Muslin for the inner rice bag
-Rice (for this size bag you'll use about 1/2 pound)
First you want to cut your fabric: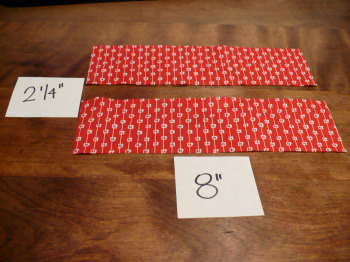
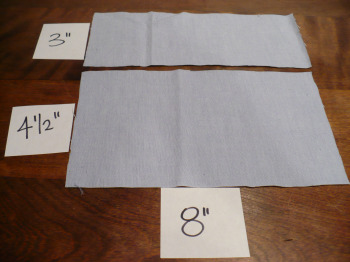 Then I like to lay mine out to see if I like the look of it. I usually alternate colors but you can do it any way that your little heart desires.
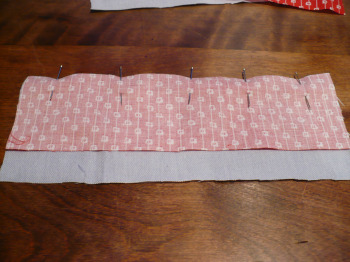
Pin your first two pieces together wrong sides facing and sew across:
 Attach your other two pieces the same way:
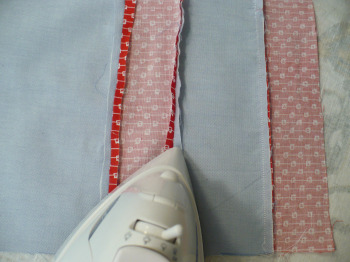
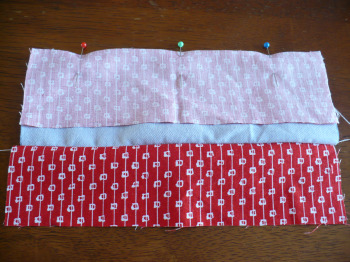 When all pieces are sewn iron down seams (if you want to add any accents to your cover this is the time to do it):
 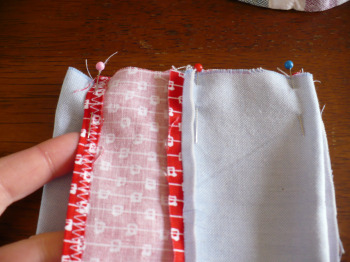 Sew across the short sides trim the access and clip your corners:
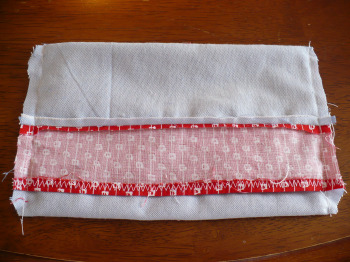 Flip and press:
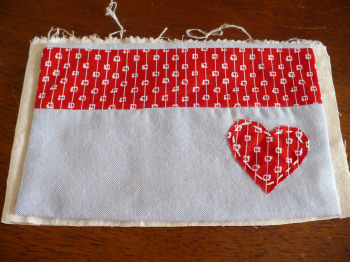
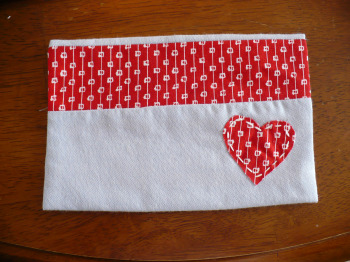 For the inner rice bag I use the cover as a template leaving about 1/4" around:
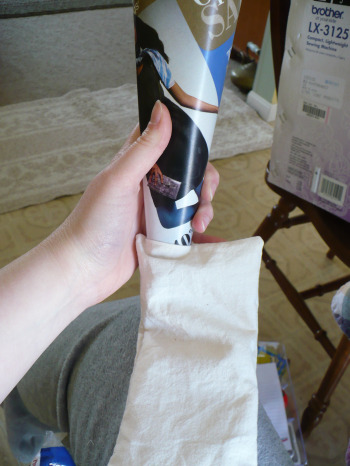
 Sew around all edges of the muslin leaving a 2" opening for turning and filling. Turn. Using a funnel (or a Kohl's ad like me) fill about three quarters of the way full with your rice:
Slide the inner rice bag into the cover and you're done! You can enjoy the bag hot or cold.



0 comments:
Post a Comment