I finally finished my terrariums! You would not believe the trouble I had trying to find plants that were small enough and that would survive in a terrarium. I ended up finding these little guys at Lowe's and now I can't remember what they are called (sorry!) I did manage to take pictures of the process. These were incredibly easy, even for me-- and I have no experience growing plants at all. Let's check out the pictures, shall we?
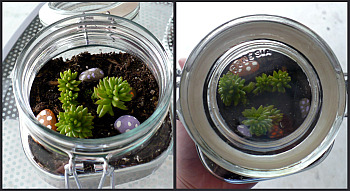
My first terrarium (finished):

Supplies
-Jar
-Soil
-Activated charcoal
-Pebbles
-Plants
-Water

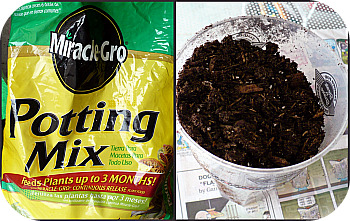
The soil I used:
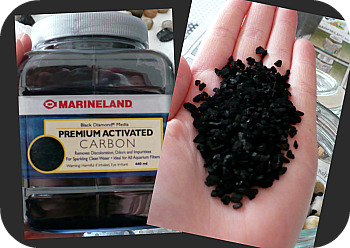
 Activated Charcoal (I found this at Petsmart by the aquarium supplies):
 Layers in the jar: first pebbles, second charcoal and third the soil.
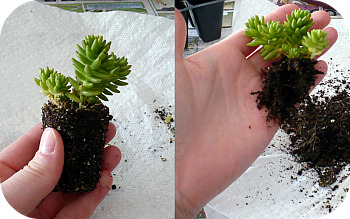
Take the plant out of it's store container and shake off most of the soil around the roots:
 Dig a spot for the plant, stick it in and lightly push soil around it. When you have it where you want it a little bit of water is needed. I wet a paper towel and squeezed the water into the jar, this gave me a little bit more control as to how much water actually went into the jar.
 After the plant is watered I added some leftover stones that I painted with acrylic paints to give my jar a little color- I would suggest leaving the painted stones out of the jar overnight to dry that way the strong smell won't harm the plants:
 Here are both my pretty jars soaking up some sun in the windowsill:
 And here I am cheesing it up with my new creation!

 Dig a spot for the plant, stick it in and lightly push soil around it. When you have it where you want it a little bit of water is needed. I wet a paper towel and squeezed the water into the jar, this gave me a little bit more control as to how much water actually went into the jar. After the plant is watered I added some leftover stones that I painted with acrylic paints to give my jar a little color- I would suggest leaving the painted stones out of the jar overnight to dry that way the strong smell won't harm the plants:
 Here are both my pretty jars soaking up some sun in the windowsill:
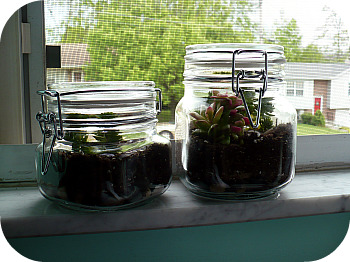 And here I am cheesing it up with my new creation!
Here's the link to the Wiki page for terrariums that I used if you want to check it out.
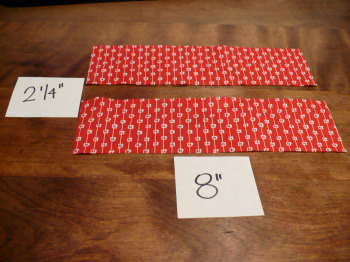
 Then I like to lay mine out to see if I like the look of it. I usually alternate colors but you can do it any way that your little heart desires.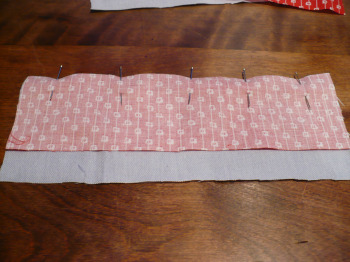
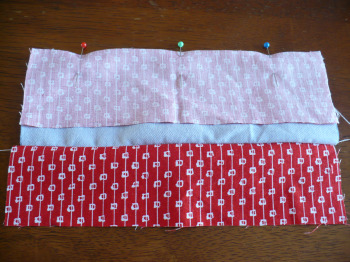
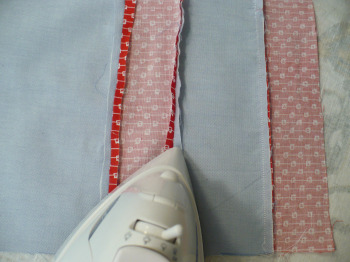
 Sew across the short sides trim the access and clip your corners: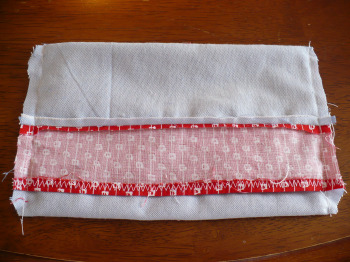
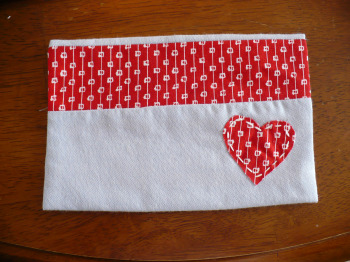



.JPG)
