Showing posts with label Sewing Projects. Show all posts

Thursday, November 11, 2010

I finished it!

Please excuse this horrible picture of me but I'm really proud of how it turned out. The collar was a little tricky so it sits a little wonky. I really love the fact that I actually finished a sewing project from a pattern. And I'll totally be wearing these as pajamas during the wintertime.

Introducing Max from Where The Wild Things Are:


In case you were wondering I used this pattern:


And just made the rest up along the way. Including my shoe covers and headband ears =)

Mallory ♥

Monday, November 1, 2010

I'm almost finished!

I just have to sew up the bottom half of my pajama suit and my spats for my Max costume.

And then I have to make sure it fits...

Sunday, October 17, 2010

I'm back!

I've never had such a long crafting hiatus before. I've just been uninspired. But I have the task in front of me of creating a Max from "Where the Wild Things Are" costume.


I'll keep you updated on my progress!
♥ Mallory

Thursday, July 2, 2009

Zippers Are Alright With Me!

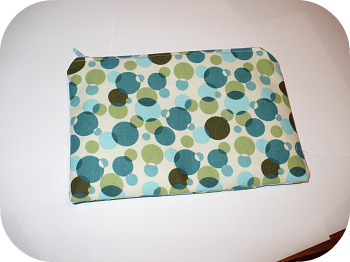
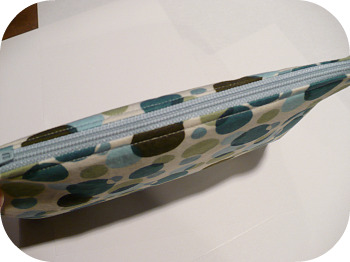
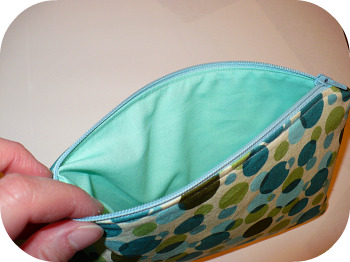
So, I've calmed down from the meltdown I had over the pleated bag and I tried the whole zipper thing again. I've decided that I love pleats and zippers separately but together they will never be my friend! So I made this larger version of the coin purse, I guess it's a quasi-cosmetic bag. Here it is:


Note to self: Make a light box! Obviously the whole paper thing isn't working for me. I have no idea why each of these pictures are a different color.


Monday, June 29, 2009

My Work in Progress!

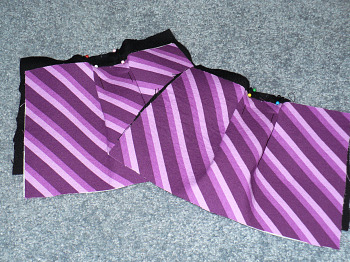
I found a tutorial for a pleated zipper pouch here and decided that I needed to make one, pronto! This one is for a co-worker's birthday. I've been trying to make all of my co-workers something homemade for their birthdays since I got my sewing machine last Christmas, but I digress. I cut out my pieces (which I measured out as 10" x 6") and I interfaced and marked my pleats. Tomorrow is the big sewing day. Since I have a love/hate relationship with zippers I like to do all of my cutting and other preparations before I even think about sewing. Here are some prep-pictures for your viewing pleasure:


I found this purple fabric in the fat quarter section at Hancock Fabrics. The black is a linen-look fabric that I bought at Joann Fabrics.

Wednesday, June 17, 2009

T-shirt Shrug!

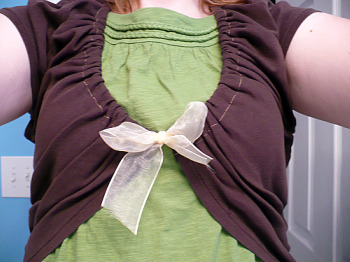
Well, this isn't a really big project or anything but I thought I'd post it anyway. I was going out for my best friend's birthday and I needed something to wear over a tank top so I made a shrug! I got the idea for a t-shirt shrug from EVEnl's tutorial at Cut Out + Keep. I just used an old shirt from Old Navy that was too short for me and some ribbon that I got at work. It was a super-easy project. I think it only took me about 20 minutes.


Please excuse the craptastic pictures and my hair. I took these after I came home from the night out!


Sunday, June 7, 2009

Book gift card holder!

My co-worker's birthday was the first of June, so myself and my other co-workers went in on a Border's gift card for her. I decided that we needed a fun holder to put it in, and it came to me...A BOOK! a book gift card holder to hold a bookstore gift card! So here it is...

The cover:
Inside with a gift card pocket and a book plate slot:

Showing the 'pages' (sorry it's a tad blurry!):
Ta-Da!!:


I just made it with the cheapo felt sheets and embroidery floss. It ended up with 4 'pages' which is 2 white rectangles folded in the middle. I ended up putting the spine on to hide my shotty stitch work. Overall, I loved it- it was hard to give up, that's been happening a lot lately! =]


mallory

Tuesday, June 2, 2009

Hip/Sling Bag!

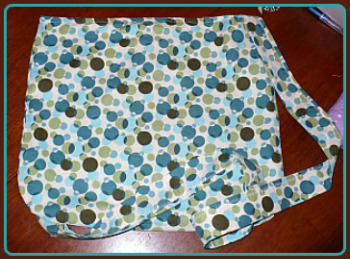
So I made a purse last weekend. It was originally meant for my cousin for her birthday but when I finished the style was way more me than her...so I kept it [yes, I'm evil-I know!] So here it is:


Laying flat on the table:


The inside snap and pocket:


Sorry for the not so clear pictures, the polka dots were getting a little trippy when I was taking the pictures!

Oh, and don't worry about my cousin, I made her a cosmetic bag and gave her a gift card-so she's covered!

mallory

Monday, May 25, 2009

Vinyl Lined Cosmetic Bag!

So, my little sister is going to be moving to the east coast to live with my older sister for the summer. She's leaving next week and she totally guilted me into making her a cosmetic bag before she goes, as a going-away present. I used the same pattern that I used for my older sister's Easter cosmetic bag. But for this one I used Therm-O-Web iron-on vinyl (I found at Joann's) for the lining so if anything spills it won't ruin the inside. That stuff is pretty much incredible! It's super easy to use! Onward to the pictures!


The finished bag:
The top (This was my first time really sewing with striped fabric and the stripes matched up! Even with the zipper- I was totally stoked!):
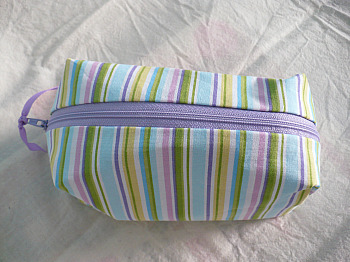
Side with zipper pull:

Other side:

Full of all of her junk:
I just realized that I didn't get a picture of the lining itself, I'll get one in the morning and post it so you can see it =]
Monday, April 20, 2009

Cosmetic Baggy DooDad!

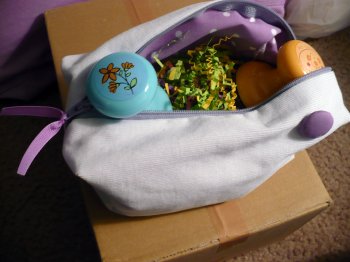
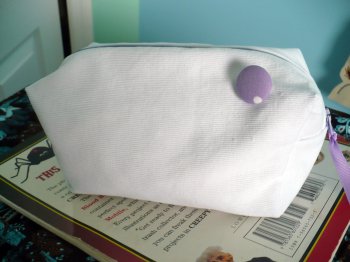
So, originally my older sister and myself decided to make each other gifts for Christmas instead of buying anything this last year. I started out knitting her a scarf but soon got bored with it (as I usually do with knitting, it's just not fast enough!!) so I decided to make her a pouch. Well, to make a long story short, I had zipper trouble so I finally got the zipper thing down so I decided to fill the pouch with Easter grass and a couple stamps (she scrapbooks and makes cards) and gave it to her as an Easter gift. Here it is...

The front (I made the button too!):
One side:Other side with a ribbon zipper pull:
The inside (with grass and stamps):


I had leftover material from the purse I made my younger sister for her birthday so I used it to make the pouch. I got the idea and how-to here. I made it bigger than the tute, I think I started out with a 12x9 inch rectangle of fabric. It's a pretty good size for a makeup bag or even a pencil pouch. And, oh yeah, I got the cute stamps at The Dollar Tree, once again proving that you can find just about anything there!

Tuesday, March 31, 2009

A Real Checkbook Cover! Finally!!

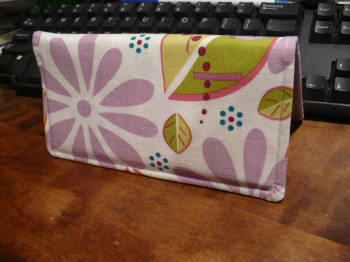
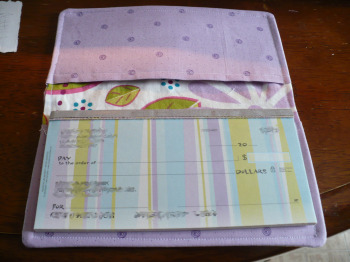
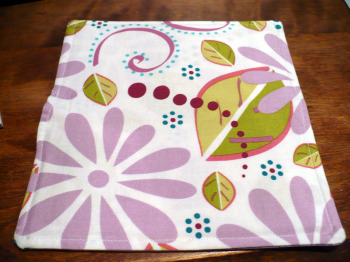
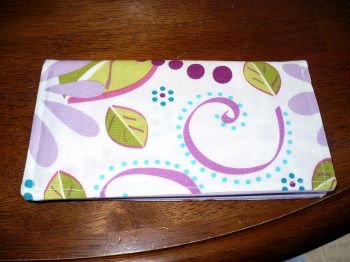
So, I FINALLY figured out the whole checkbook cover thing. You guys don't even know how many times I've measured, cut, sewed, taken apart, and almost cried over this thing (see my first try here.) Who would think that figuring out your own pattern for a simple checkbook cover could be so frustrating?? Anyway, I'm ecstatic that this is finally finished. So here are the gazillion pictures I took of my latest creation:

The Front:
The Back:
Laying Flat (once again showing off my mad GIMP skills!) :

Flat (sans checks):
Flat showing off the fabric:

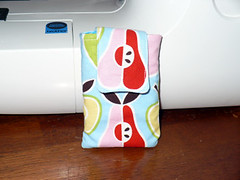
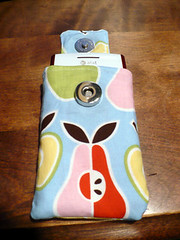
I also bought a new cell phone last week so of course I needed a case for it so it won't get scratched when I throw it around so I re-purposed my first checkbook cover and made this:
This is my first project with snaps! They were a lot easier than I thought. Here it is in all it's snappy glory:

Wednesday, March 11, 2009

Wee Bunny!

I made a bunny for a co-worker's birthday (she loves bunnies). I used the tutorial from the Wee Wonderfuls site, for the pattern click here.

And for your viewing pleasure, here is the Wee Wonderfuls Bunnies gallery.


Let me tell you, this little booger was hard to sew! My seam ripper is now my arch enemy, I had to rip this apart three times I think. And re-do the ears twice (they're still a little too floppy and they're fraying a little bit, but we'll say it gives him character) And don't even get me started on the bottom! But I think he turned out well and I'm sure he'll be given lots of TLC at his new home. On the plus side I think I did pretty good on embroidering his face which is something I've never had the patience to do...

Monday, March 9, 2009

My Heat Therapy Bag Tutorial!

Yay! This is my first tutorial! I hope I explain everything well, if you have any questions, feel free to message me. [warning: this post is EXTREMELY picture obese!]

You'll need:
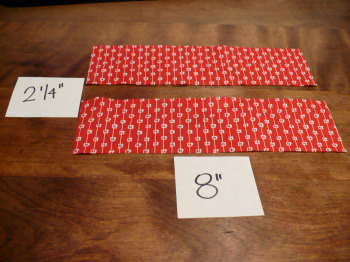
-2 strips of fabric 2 1/4" by 8"
-1 strip of fabric 3" by 8"
-1 strip of fabric 4 1/2" by 8"
-Muslin for the inner rice bag
-Rice (for this size bag you'll use about 1/2 pound)

First you want to cut your fabric:
Then I like to lay mine out to see if I like the look of it. I usually alternate colors but you can do it any way that your little heart desires.
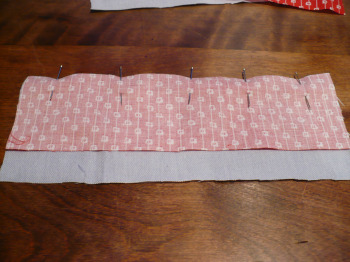
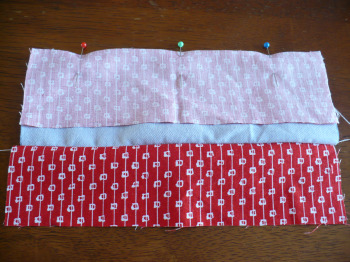
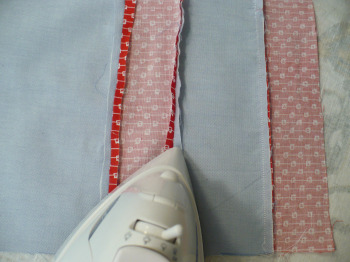
Pin your first two pieces together wrong sides facing and sew across:

Attach your other two pieces the same way:
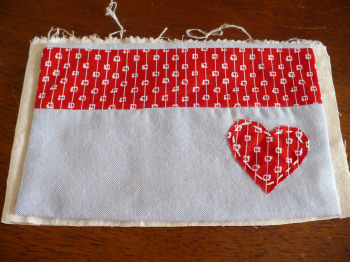
When all pieces are sewn iron down seams (if you want to add any accents to your cover this is the time to do it):
[Not shown: fold down the ends of the long sides about 1/4" and hem. I usually do a straight stitch and a zig-zag on top for extra strength]

Fiddle around with the way you want the cover to look (like how much of each color you want to show on the front) You then want to overlap the long ends about an inch and pin down the short sides (keep in mind that the color that's on the top will turn out to be covered by the overlap when you turn it):
Sew across the short sides trim the access and clip your corners:
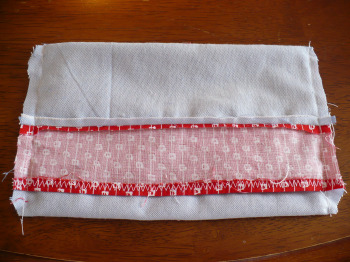
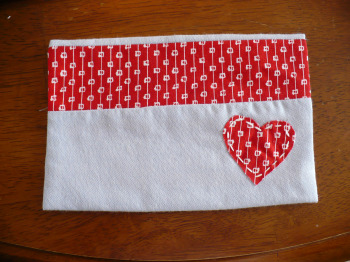
Flip and press:
For the inner rice bag I use the cover as a template leaving about 1/4" around:
Sew around all edges of the muslin leaving a 2" opening for turning and filling. Turn. Using a funnel (or a Kohl's ad like me) fill about three quarters of the way full with your rice:
[Not shown: once the rice bag is full fold in the edges of the opening, pin and sew shut. I usually push all the rice to the closed end of the bag and put pins across under the opening so that the rice stays clear of the sewing machine.]

Slide the inner rice bag into the cover and you're done! You can enjoy the bag hot or cold.

 
Template by suckmylolly.com