Sunday, May 10, 2009

Countdown Calendar!

I made up this little countdown calendar for my 6 1/2 year old nephew, Ethan. He's had a lot of changes in his life this year and has been having a hard time lately so I made this countdown calendar to mark the days until my mom and dad go up to visit (which also happens to be his last day of school.)

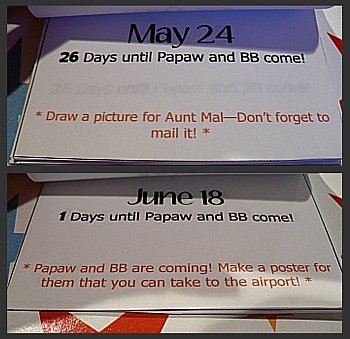
Here's the calendar--he named my mom BB when he was two, we have no idea where he came up with it but it just stuck =] --It is made of two thin pieces of cardboard that are held together by some wrapping paper I had laying around. I added a ribbon to hang it with and some foam star stickers to give it a little extra something.
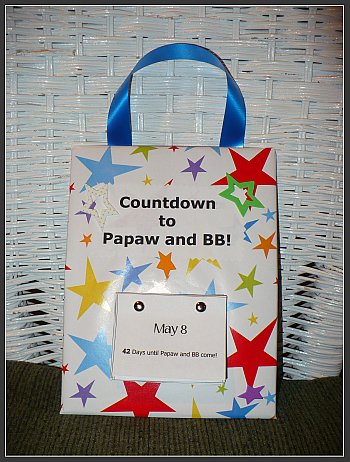
Here's a close-up of some of the days:
I made the calendar pages in Microsoft Word which, may I add, took FOREVER! The pages are held on with plain brads that I had left from a project I made last year. I put in an activity for Ethan to do every other day to give him something to look forward to.

Here's an example of some of the days:
Write a story about a boy named Joey!
Slide from one end of the kitchen to the other in your socks!
Find 5 things in your house that are your favorite color!

I hope that he likes it, he's really into writing his own stories (now he's into vampire stories, he wants to write like Stephenie Meyer because he knows we love her books--we've inadvertently made him a Twilight fan!!) and drawing so most of the activities center around that. This project could easily be tailored to fit any countdown needs. And kids love the idea of ripping off a page each day and seeing what activity they get to do next!

Monday, May 4, 2009

Fun with Terrariums!

I finally finished my terrariums! You would not believe the trouble I had trying to find plants that were small enough and that would survive in a terrarium. I ended up finding these little guys at Lowe's and now I can't remember what they are called (sorry!) I did manage to take pictures of the process. These were incredibly easy, even for me-- and I have no experience growing plants at all. Let's check out the pictures, shall we?
My first terrarium (finished):
Supplies
-Jar
-Soil
-Activated charcoal
-Pebbles
-Plants
-Water
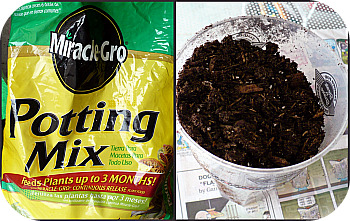
The soil I used:
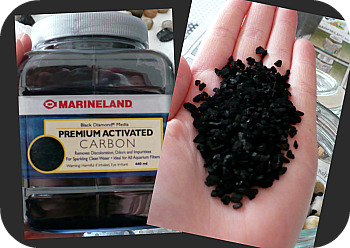
Activated Charcoal (I found this at Petsmart by the aquarium supplies):
Layers in the jar: first pebbles, second charcoal and third the soil.
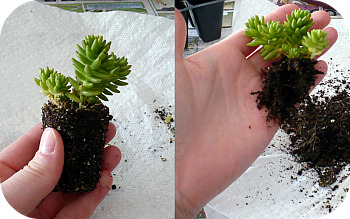
Take the plant out of it's store container and shake off most of the soil around the roots:

Dig a spot for the plant, stick it in and lightly push soil around it. When you have it where you want it a little bit of water is needed. I wet a paper towel and squeezed the water into the jar, this gave me a little bit more control as to how much water actually went into the jar.

After the plant is watered I added some leftover stones that I painted with acrylic paints to give my jar a little color- I would suggest leaving the painted stones out of the jar overnight to dry that way the strong smell won't harm the plants:
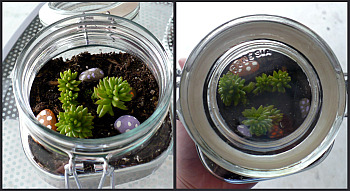
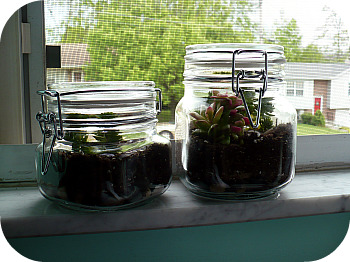
Here are both my pretty jars soaking up some sun in the windowsill:

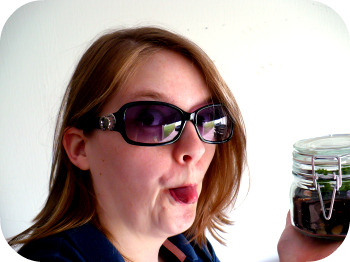
And here I am cheesing it up with my new creation!


Here's the link to the Wiki page for terrariums that I used if you want to check it out.

Wednesday, April 29, 2009

Terrarium Love!

So, it's been too nice here to do much in the crafting department since I basically only sew and knit. I was in the need of an outdoor activity to do on nice days to stretch my crafty wings. I've been wanting to get my hands dirty and actually grow a plant for a long time now (sadly, no- my lucky bamboo doesn't count) but I've never had much of a green thumb. So I decided to try my hand at making a terrarium. And if this survives I'll try growing a plant in the ground! If you've never seen a terrarium they're little ecosystems of moss, soil, flowers or other plants that live in open mouthed or closed jars like this:


(I found the above image on Flickr)

This is a slow process since I had a heck of a time finding just the right type of container. Finally I found these guys at Old Time Pottery for about $2 a piece.


I have all the supplies I need to start these fellas except for my plants- I know, it's a big thing to leave out- but I'm going to the nursery tomorrow to pick the guys out. I'm going to be taking pictures of all the steps of my journey into terrarium land and I'll be posting them for all later this week. If anyone is interested in making terrariums here is a link to a great site. Happy Planting!
Monday, April 20, 2009

Cosmetic Baggy DooDad!

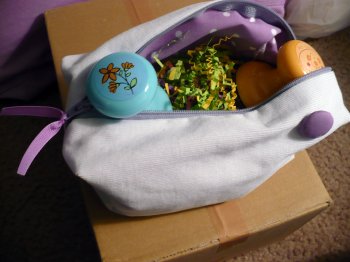
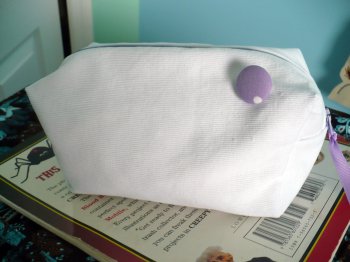
So, originally my older sister and myself decided to make each other gifts for Christmas instead of buying anything this last year. I started out knitting her a scarf but soon got bored with it (as I usually do with knitting, it's just not fast enough!!) so I decided to make her a pouch. Well, to make a long story short, I had zipper trouble so I finally got the zipper thing down so I decided to fill the pouch with Easter grass and a couple stamps (she scrapbooks and makes cards) and gave it to her as an Easter gift. Here it is...

The front (I made the button too!):
One side:Other side with a ribbon zipper pull:
The inside (with grass and stamps):


I had leftover material from the purse I made my younger sister for her birthday so I used it to make the pouch. I got the idea and how-to here. I made it bigger than the tute, I think I started out with a 12x9 inch rectangle of fabric. It's a pretty good size for a makeup bag or even a pencil pouch. And, oh yeah, I got the cute stamps at The Dollar Tree, once again proving that you can find just about anything there!

Tuesday, March 31, 2009

A Real Checkbook Cover! Finally!!

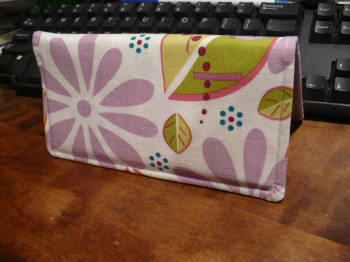
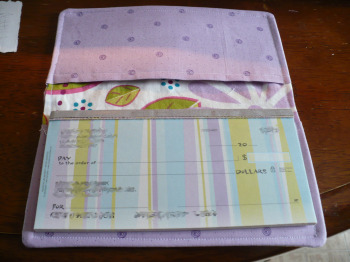
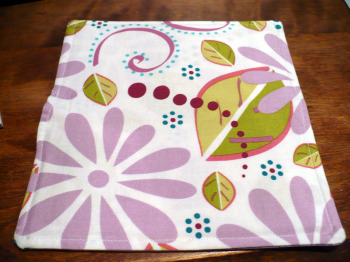
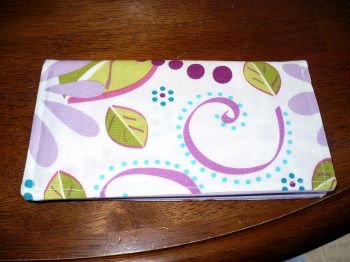
So, I FINALLY figured out the whole checkbook cover thing. You guys don't even know how many times I've measured, cut, sewed, taken apart, and almost cried over this thing (see my first try here.) Who would think that figuring out your own pattern for a simple checkbook cover could be so frustrating?? Anyway, I'm ecstatic that this is finally finished. So here are the gazillion pictures I took of my latest creation:

The Front:
The Back:
Laying Flat (once again showing off my mad GIMP skills!) :

Flat (sans checks):
Flat showing off the fabric:

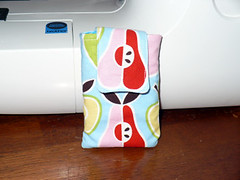
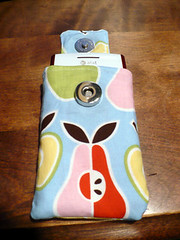
I also bought a new cell phone last week so of course I needed a case for it so it won't get scratched when I throw it around so I re-purposed my first checkbook cover and made this:
This is my first project with snaps! They were a lot easier than I thought. Here it is in all it's snappy glory:

Tuesday, March 24, 2009

Miss Piggy and Me (and a new distraction!)

Sorry for the recent dry spell lately. The only days I can craft are Mondays and Tuesdays and I spent my day taking care of Miss Piggy- who is my car if you were wondering. We got a bath, our oil changed, and we spent over an hour at Tire Discounters getting tires rotated. But while I was waiting I read through a Redbook and found a tidbit about JacksonPollock.org.

I did a project on Jackson Pollock freshman year of college and I've been interested in his work ever since, but this site lets you use your mouse as your paintbrush, the longer you let the mouse sit, the thicker the drips. Definitely a fun way to spend time when you should be doing something else!

Wednesday, March 18, 2009

Wee Bunny= Success!

Well, for over a week I was debating on whether or not to give my wee bunny to my co-worker or not. I liked him but I wasn't sure if I liked him enough to actually give to someone, you know? Well, after the urging of my family (and my little sister saying I would be dumb not to give it because he was so cute =]) I decide to give him, and my co-worker loved him! I'm happy, I'm very self-conscience when it comes to things I make, I just want them to be good. Well, that worry is over, thank goodness, now on to my next task- I wonder what that will be...

 
Template by suckmylolly.com